
Access Panel Plasterboard Ceiling: How to Fit Guide 2026

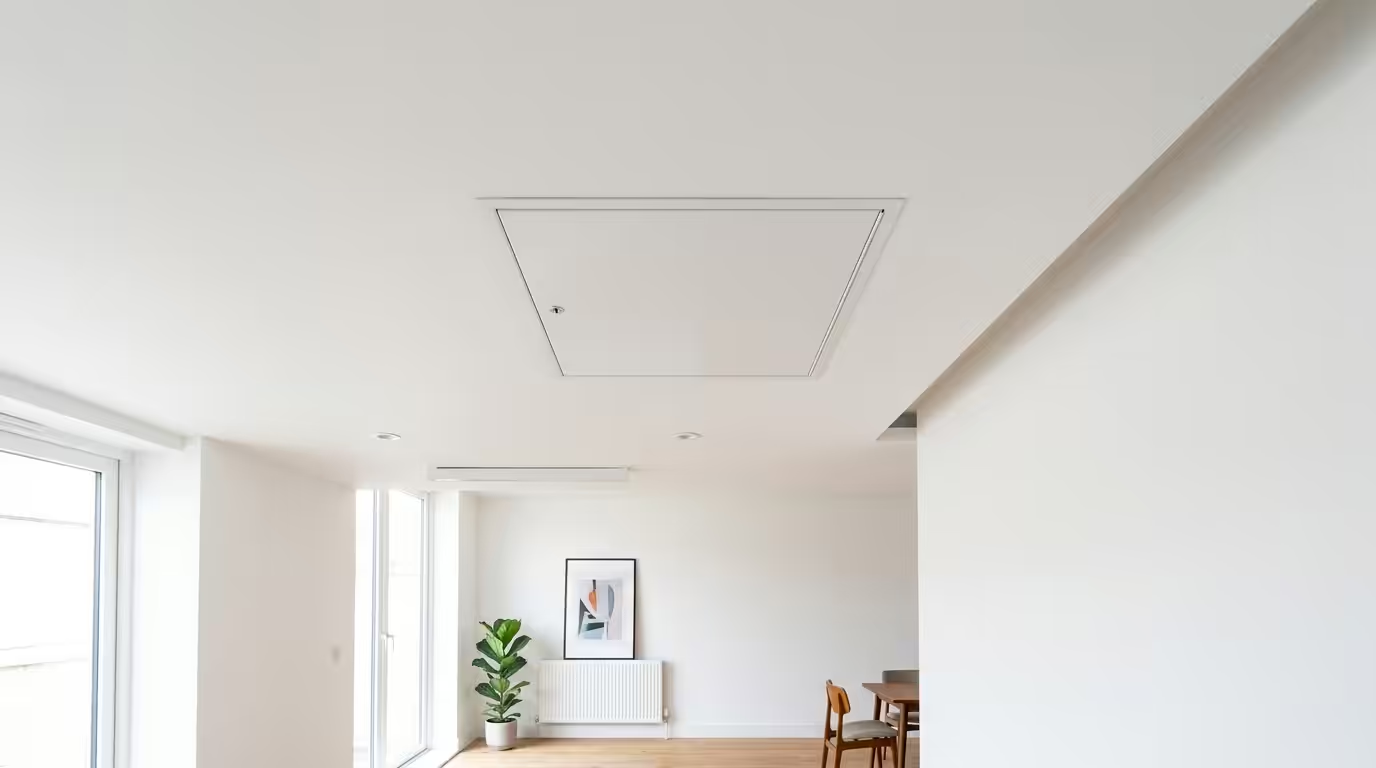
How to Fit an Access Panel in a Plasterboard Ceiling: Professional Installation Guide
An access panel in a plasterboard ceiling provides essential maintenance access to concealed services while maintaining the room’s aesthetic integrity. Professional installations achieve 99% flush finish rates when following BS 8000-8 workmanship standards. This comprehensive guide details the precise techniques used by experienced tradespeople to install ceiling access panels that meet Building Regulations requirements and deliver long-term performance. Whether accessing electrical conduits, plumbing pipework, or HVAC systems, proper installation ensures seamless integration with existing plasterboard structures while maintaining fire ratings and acoustic properties.
Pre-Installation Planning and Safety Requirements
Structural Assessment and Service Location
Before cutting into any plasterboard ceiling, conduct a thorough structural assessment using electronic detection equipment. Cable and pipe detectors with 95% accuracy ratings identify hidden services within 50mm depth ranges. Check building drawings against actual installations, as post-construction modifications often occur without documentation updates.
Verify ceiling joist positions using magnetic stud finders calibrated for 600mm or 400mm centres typical in UK construction. Standard 12.5mm plasterboard ceiling installations require adequate support, particularly for access panels exceeding 300mm × 300mm dimensions. Consult structural engineers for panels larger than 600mm × 600mm in load-bearing ceiling applications.
Regulatory Compliance and Fire Safety
Building Regulations Part B mandates that ceiling access panels maintain the fire resistance of the original construction. Fire-rated access panels achieve 30, 60, or 90-minute ratings tested to BS EN 1634-1 standards. Non-fire-rated installations are only permitted in non-compartment areas where ceiling fire ratings are not specified.
LABC and NHBC Standards require notification for access panel installations that affect structural elements or fire-rated assemblies. Document all installations with photographs and compliance certificates for Building Control approval and insurance purposes.
Tools and Materials Selection
Essential Installation Equipment
Professional access panel installation requires specific tools for precision cutting and secure fixing:
- Drywall saw with 12 TPI fine-tooth blade for clean plasterboard cuts
- Reciprocating saw with plunge-cutting capability for service access
- Electronic stud finder with edge-finding accuracy ±3mm
- Spirit level (600mm minimum) for frame alignment verification
- Measuring tape, pencil, and cutting square for accurate marking
- Dust sheets and vacuum for debris management
- Safety equipment: goggles, dust mask, and hard hat
Access Panel Types and Specifications
Select access panels based on service requirements and ceiling specifications:
| Panel Type | Plasterboard Thickness | Load Capacity | Fire Rating | Typical Applications |
|---|---|---|---|---|
| Standard Push-Latch | 12.5mm | 2kg/m² | Non-rated | Electrical access, light fittings |
| Beaded Frame | 15mm | 5kg/m² | 30-60 minutes | Plumbing, HVAC maintenance |
| Recessed Handle | 12.5-25mm | 8kg/m² | 30-90 minutes | Commercial installations |
| Magnetic Latch | 12.5mm | 3kg/m² | Non-rated | Domestic ceiling access |
Step-by-Step Installation Process
Marking and Cutting the Opening
Position the access panel template against the ceiling, ensuring minimum 100mm clearance from structural members and concealed services. Mark the cutting line with a sharp pencil, checking measurements twice before cutting. Standard access panels require precise openings with ±2mm tolerance for proper frame seating.
Score the plasterboard surface lightly before making full-depth cuts. This technique reduces edge chipping and ensures clean lines essential for professional appearance. Cut from the room side to maintain the best edge finish where visible joints will be sealed.
Remove ceiling debris immediately to prevent damage to floor coverings and furnishings. Use a shop vacuum with brush attachment to collect plaster dust from cut edges before frame installation.
Frame Installation and Securing
Test-fit the access panel frame before applying adhesive or mechanical fixings. Quality frames should sit flush with the ceiling surface without gaps exceeding 1mm. Adjust the opening if necessary using fine-grit sandpaper on cut edges.
Apply continuous beads of acoustic sealant around the frame perimeter to maintain ceiling performance. This sealant prevents air leakage and maintains acoustic ratings while allowing for thermal movement. Secure frames using appropriate fixings – typically 32mm plasterboard screws at 150mm centres for standard installations.
Check frame alignment using a spirit level, ensuring all edges are flush and square. Misaligned frames create visible lines and compromise the installation’s professional appearance.
Panel Fitting and Adjustment
Install the access panel door according to manufacturer specifications, typically involving hinge pin insertion or magnetic latch alignment. Test opening and closing mechanisms multiple times to ensure smooth operation without binding or excessive force requirements.
Adjust panel alignment using built-in adjusters where fitted. Premium access panels include micro-adjustment features allowing ±2mm fine-tuning after installation. This adjustment capability accommodates ceiling variations and ensures perfect flush finishing.
Quality Control and Finishing
Joint Sealing and Surface Preparation
Apply decorator’s caulk around the frame perimeter using a smooth, continuous bead. Tool the caulk immediately with a damp cloth for a professional finish that blends seamlessly with existing ceiling surfaces. Allow 24 hours curing time before painting.
Sand any proud edges or surface imperfections using 120-grit paper, followed by 240-grit for smooth finishing. Dust removal is critical – use tack cloth to ensure paint adhesion and professional surface quality.
Final Testing and Commissioning
Conduct comprehensive testing of the installed access panel including:
- Opening mechanism operation – should require less than 5N force
- Closing alignment – panel should sit flush without gaps
- Latch engagement – positive securing without over-tightening
- Frame stability – no movement when panel operated
- Surface finish quality – invisible joints when painted
Document the installation with photographs showing frame position, service access clearances, and finished appearance. This documentation supports warranty claims and future maintenance requirements.
Summary
- Pre-installation planning with electronic service detection prevents costly damage and ensures regulatory compliance with Building Regulations Part B requirements
- Professional tool selection including 12 TPI drywall saws and calibrated stud finders achieves ±2mm cutting accuracy for perfect frame fitting
- Frame installation requires continuous acoustic sealant application and 32mm plasterboard screws at 150mm centres for structural integrity
- Quality control testing includes 5N maximum opening force verification and comprehensive alignment checks for long-term performance
- Fire-rated access panels must maintain original ceiling fire resistance ratings per BS EN 1634-1 standards in compartment ceiling applications
For specialist fire-rated access panels meeting Building Regulations requirements, professional specification guidance ensures compliance. Consider ceiling access panel options that match your specific service access needs and structural requirements.
Frequently Asked Questions
What size access panel do I need for ceiling maintenance?
Standard ceiling access panels measure 300mm × 300mm for basic electrical access, while 450mm × 450mm panels suit plumbing and HVAC maintenance. Panels exceeding 600mm × 600mm require structural assessment and may need Building Control notification under current regulations.
Can I install an access panel in a fire-rated ceiling myself?
Fire-rated ceiling installations require certified fire-rated access panels tested to BS EN 1634-1 standards. DIY installation is possible but must maintain the ceiling’s original fire resistance rating. Building Control notification may be required for compliance verification.
How do I find ceiling joists before cutting an access panel opening?
Use a magnetic stud finder calibrated for UK construction standards with 600mm or 400mm joist centres. Electronic edge-finding detectors provide ±3mm accuracy for precise joist location. Always verify findings by drilling small pilot holes before making full cuts.
What tools do I need to fit a plasterboard ceiling access panel?
Essential tools include a 12 TPI drywall saw, electronic stud finder, spirit level, measuring tape, and reciprocating saw for service clearance. Safety equipment including goggles, dust mask, and hard hat are mandatory for ceiling work compliance.
How long does it take to install a ceiling access panel professionally?
Professional installation typically requires 45-90 minutes depending on panel size and ceiling complexity. This includes service location verification, precision cutting, frame installation, and quality testing. Fire-rated installations may require additional compliance documentation time.