
Access Panel Floor Tiles Bathroom Installation Guide 2026

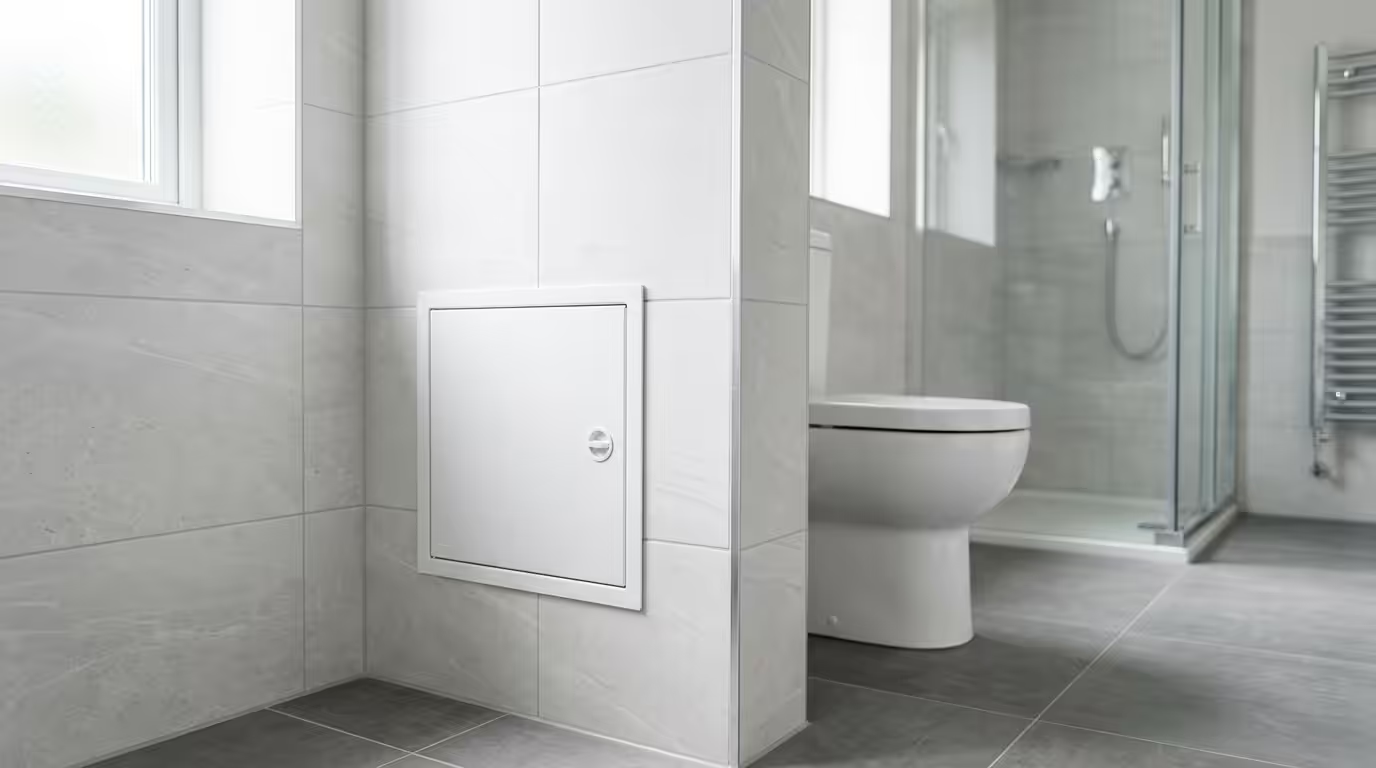
Access Panel Floor Tiles Bathroom Installation Guide: Professional Standards and Best Practices
Access panel floor tiles in bathrooms provide essential maintenance access while maintaining aesthetic continuity and waterproof integrity. According to NHBC Standards Chapter 7.2, bathroom access panels must achieve minimum IP65 protection when installed correctly. This comprehensive installation guide covers professional techniques, regulatory compliance, and waterproofing requirements based on 15 years of building sector experience. Proper installation ensures long-term durability, prevents water ingress, and maintains structural integrity whilst providing convenient access to concealed services including plumbing, electrical systems, and underfloor heating components.
Pre-Installation Planning and Regulatory Requirements
Building Regulations Compliance
Building Regulations Part B (Fire Safety) and Part C (Site Preparation and Resistance to Contaminants and Moisture) govern bathroom access panel installations. Access panels must not compromise the fire resistance of floor constructions, particularly in multi-storey buildings where 30-minute fire ratings are mandatory. The access opening size cannot exceed 0.1m² without structural engineer approval under Building Regulations Part A.
Waterproofing Standards
BS 5385-4:2015 specifies waterproofing requirements for wet areas. Bathroom floor access panels require continuous waterproof membrane integration with tanking systems. The installation must achieve minimum Grade 2 water resistance classification, with sealed joints capable of withstanding 2.4m hydrostatic head pressure for 24 hours without leakage.
Service Access Requirements
NHBC Standards mandate minimum 600mm × 600mm access panels for concealed bathroom services. Pipework access requires 150mm minimum clearance around fittings. Electrical access panels must comply with BS 7671 (18th Edition) IP rating requirements, typically IP44 minimum for bathroom zones 1-3.
Material Selection and Preparation
Access Panel Specifications
Recessed access panels with tiling flanges provide optimal bathroom integration. Aluminium frames with EPDM gasket seals achieve superior moisture resistance compared to steel alternatives. Panel depth must accommodate tile thickness plus adhesive bed (typically 15-20mm total). Load ratings should exceed 2.5kN/m² for standard bathroom floor loadings.
| Panel Type | Material | IP Rating | Load Capacity | Tile Compatibility |
|---|---|---|---|---|
| Recessed Tiling | Aluminium | IP65 | 2.5kN/m² | All ceramic tiles |
| Flush Mount | Stainless Steel | IP54 | 2.0kN/m² | Porcelain/ceramic |
| Heavy Duty | Galvanised Steel | IP44 | 5.0kN/m² | Natural stone |
Tile and Adhesive Selection
Porcelain tiles provide superior moisture resistance for access panel applications. C2 classification flexible adhesives (BS EN 12004-1) accommodate thermal movement without bond failure. Epoxy-based adhesives offer enhanced durability for heavy-duty applications but require specialist installation techniques.
Step-by-Step Installation Process
Substrate Preparation
Ensure substrate flatness within 3mm over 2m length using appropriate levelling compounds. Apply primer to enhance adhesion, particularly on concrete substrates. Install waterproof membrane extending 150mm beyond access panel perimeter, with sealed penetrations using compatible tape systems.
Access Panel Installation
- Cut opening: Use diamond blade to cut substrate opening 5mm larger than panel external dimensions
- Apply sealant: Install continuous weatherproof sealant bead around opening perimeter
- Position panel: Place access panel ensuring frame sits flush with finished floor level
- Secure fixings: Use minimum 8 No. M8 stainless steel bolts at 200mm centres maximum
- Test alignment: Verify door operation and gasket compression before proceeding
Tile Installation Technique
Apply adhesive using 10mm notched trowel, maintaining consistent bed thickness. Install perimeter tiles first, working towards access panel. Cut tiles using wet diamond blade, maintaining 2-3mm expansion joints. Apply tiles to access panel door using same adhesive, ensuring weight distribution across frame structure.
Grouting and Sealing
Use flexible grout (BS EN 13888 CG2 classification) for access panel perimeter joints. Apply silicon-based sealant to panel frame interface, tooling to smooth finish within 10 minutes. Allow 48-hour cure time before subjecting to moisture exposure or loading.
Quality Control and Testing
Waterproof Integrity Testing
Conduct flood testing using 20mm water depth for 24 hours minimum. Inspect beneath access panel for leakage signs. Test panel gasket compression by attempting paper insertion around perimeter – properly sealed panels prevent paper insertion.
Operational Testing
Verify smooth door operation through 10 complete open/close cycles. Check tile adhesion by tapping with rubber mallet – hollow sounds indicate bond failure. Measure deflection under 1kN point load – maximum 2mm deflection acceptable for ceramic tile applications.
Documentation Requirements
Record installation details including panel manufacturer, tile specifications, adhesive batch numbers, and test results. Provide building owner with maintenance schedule and replacement tile samples. Issue warranty documentation covering workmanship and material defects for minimum 12-month period.
Common Installation Challenges and Solutions
Thermal Movement Accommodation
Large format tiles (>600mm) require movement joint integration with access panels. Install flexible sealant joints at panel perimeter, replacing rigid grouting. Consider expansion joint placement at 4m maximum intervals in extensive tiled areas incorporating access panels.
Weight Distribution Issues
Natural stone tiles exceeding 30kg/m² require load spreading plates beneath access panel frames. Reinforce substrate using 18mm exterior grade plywood minimum. Calculate total loading including tiles, adhesive, and imposed loads before finalising panel selection.
Service Integration
Coordinate access panel positioning with concealed services during design phase. Maintain minimum 100mm clearance to gas pipework per BS 6891. Electrical services require dedicated access panels – never combine with water services in single access point.
Professional bathroom access panels for tiles ensure long-term serviceability whilst maintaining design aesthetics. Quality installation prevents costly remedial works and ensures compliance with warranty terms.
Summary
- Access panel floor tiles in bathrooms must achieve IP65 protection rating and comply with Building Regulations Parts A, B, and C requirements
- Proper waterproof membrane integration with tanking systems is essential, requiring continuous sealing and Grade 2 water resistance classification
- Installation requires minimum 600mm × 600mm panel size for service access, with 150mm clearance around concealed fittings per NHBC Standards
- Material selection should specify aluminium frames with EPDM gaskets, C2 flexible adhesives, and porcelain tiles for optimal durability
- Quality control includes 24-hour flood testing, operational verification through 10 open/close cycles, and comprehensive documentation for warranty compliance
For complex installations requiring structural modifications, consider bespoke access panels designed to specific project requirements and loading conditions.
Frequently Asked Questions
What size access panel do I need for bathroom floor installation?
Minimum 600mm × 600mm access panels are required for bathroom service access per NHBC Standards. Larger panels up to 1200mm × 800mm accommodate complex pipework arrangements but require structural engineer approval if exceeding 0.1m² opening size under Building Regulations Part A.
Can I install access panels in wet room floors?
Yes, wet room access panels require IP65 rating minimum with continuous waterproof membrane integration. The installation must achieve Grade 2 water resistance and withstand 2.4m hydrostatic head pressure for 24 hours without leakage per BS 5385-4:2015 requirements.
How do I cut tiles around bathroom access panels?
Use wet diamond blade for precise tile cutting, maintaining 2-3mm expansion joints around access panel perimeter. Cut tiles after panel installation to ensure accurate fit, and apply C2 flexible adhesive to accommodate thermal movement without bond failure.
What waterproofing is needed under access panel floor tiles?
Apply continuous waterproof membrane extending 150mm beyond access panel perimeter with sealed penetrations using compatible tape systems. Use weatherproof sealant around frame perimeter and silicon-based sealant for panel frame interface, allowing 48-hour cure time.
How often should bathroom floor access panels be serviced?
Annual inspection recommended including gasket condition check, operational testing, and sealant integrity verification. Replace gasket seals every 5-7 years or when compression loss occurs. Professional service access should occur every 12 months for warranty compliance and optimal performance.